 English
 русский
 中文简体
中文简体How to Brake Bleed: Methods, Tools & Step-by-Step Guide
2026-05-18
Content
- 1 What Brake Bleeding Actually Does — and Why It Matters
- 2 Tools and Supplies You Need Before You Start
- 3 The Correct Bleeding Sequence — Order Matters More Than Most People Realize
- 4 Understanding the Bleed Screw: The System's Air Intake Valve Point
- 5 Choosing the Right Brake Fluid: DOT Ratings Explained
- 6 Gravity Bleeding: The Slowest Method That Requires Zero Tools
- 7 Special Situations: When Bleeding Gets More Complicated
- 8 Air Intake Valves in Hydraulic Systems and Their Parallel to Brake Bleeding
- 9 How to Know When the Bleeding Job Is Complete
- 10 How Often Should You Bleed Your Brakes
- 11 Common Mistakes That Lead to a Failed Brake Bleed
What Brake Bleeding Actually Does — and Why It Matters
Brake bleeding is the process of purging air bubbles from your hydraulic brake lines. The short answer: any air trapped in the brake system compresses under pressure, which causes a spongy pedal feel and dramatically reduces stopping power. Brake fluid, by contrast, is nearly incompressible — so a system filled entirely with clean fluid transmits pedal force directly and consistently to the calipers or wheel cylinders.
The hydraulic brake circuit runs from the master cylinder, through steel or rubber brake lines, past the ABS modulator (on modern vehicles), and into each caliper or wheel cylinder at the four corners of the car. Anywhere along that path — a loose fitting, a cracked hose, or a caliper bleed screw that wasn't fully tightened — air can enter. Once air is in the system, bleeding is the only reliable fix.
Beyond air intrusion, brake fluid absorbs moisture over time. The U.S. Department of Transportation recommends replacing brake fluid every two years regardless of mileage, because absorbed moisture lowers the boiling point of the fluid. Fresh DOT 4 fluid has a dry boiling point of around 446°F (230°C), but fluid with just 3.7% water content can drop that threshold to roughly 311°F (155°C) — dangerously close to real-world braking temperatures during hard use. Bleeding the system with fresh fluid restores that safety margin.
The process is relevant to nearly every vehicle type: passenger cars, trucks, motorcycles, and even heavy equipment. Understanding how to brake bleed correctly — including the tools involved, the correct sequence, and the role of components like bleeder screws and air intake valves — is essential knowledge for any serious home mechanic or professional technician.
Tools and Supplies You Need Before You Start
Starting without the right equipment turns a straightforward job into a frustrating mess. Here is what you need on the bench before opening any brake line:
- Correct brake fluid: Match DOT rating to the vehicle's specification. Mixing DOT 3 and DOT 4 is generally acceptable (they are glycol-based and compatible), but never mix DOT 5 silicone fluid with glycol-based fluids. Most European cars call for DOT 4, while many older American vehicles use DOT 3.
- Bleeder wrench: Usually an 8 mm or 10 mm flare-nut wrench. A standard open-end wrench rounds off bleed screws easily. Invest in a proper flare-nut or line wrench.
- Clear plastic tubing: Approximately 18 inches long, sized to fit snugly over the bleed screw nipple. Clear tubing lets you watch for air bubbles during the process.
- Collection bottle: Any clean container works. Some mechanics prefer purpose-built bottles with a one-way check valve built in — these act as a simple air intake valve control, preventing expelled fluid from being sucked back into the caliper.
- Turkey baster or brake fluid syringe: For removing old fluid from the master cylinder reservoir before adding fresh fluid.
- Penetrating oil: Bleed screws corrode. Soak them with penetrating oil 15–20 minutes before attempting to open them to avoid snapping them off in the caliper.
- Jack stands and wheel chocks: Never work under a car supported only by a floor jack.
- Safety glasses and gloves: Brake fluid is corrosive and will damage paint on contact.
Optional but highly useful: a vacuum bleeder kit or a pressure bleeder kit. Both methods are covered in detail below. Vacuum bleeders are particularly effective because they create negative pressure at the bleed screw, drawing fluid and trapped air through the system without needing a second person to pump the pedal.
The Correct Bleeding Sequence — Order Matters More Than Most People Realize
The standard rule is to bleed the caliper or wheel cylinder farthest from the master cylinder first, then work progressively closer. On most front-engine, rear-wheel-drive and front-wheel-drive vehicles, the sequence runs: right rear → left rear → right front → left front. Some manufacturers specify a different order — always check the service manual.
The logic is straightforward: air rises and tends to accumulate at the highest points in the circuit. Starting at the farthest corner ensures the longest runs of line are purged first, pushing any trapped air progressively toward the open bleed screws rather than redistributing it around the circuit.
Vehicles equipped with ABS (anti-lock braking systems) sometimes require bleeding the ABS modulator separately using a scan tool to cycle the ABS pump and solenoid valves. This is because air can become trapped inside the modulator body itself and cannot be expelled by conventional pedal-pump bleeding alone. Skipping this step on ABS-equipped vehicles is a common reason why a pedal remains spongy even after all four corners have been bled.
Two-Person Pedal Bleeding: Step by Step
- Top off the master cylinder reservoir with fresh brake fluid.
- Locate the first bleed screw (right rear). Apply penetrating oil if needed and let it soak.
- Attach the clear plastic tubing to the bleed screw nipple, run the other end into the collection bottle.
- Have your assistant pump the brake pedal 3–4 times, then hold it depressed firmly.
- Open the bleed screw approximately a quarter to half turn. Fluid and air will be expelled into the tube. Watch for bubbles.
- Close the bleed screw before your assistant releases the pedal. This is critical — releasing the pedal with the screw open draws air back into the system through the bleed screw, which acts temporarily as an uncontrolled air intake valve for the caliper circuit.
- Repeat the pump-hold-open-close cycle until no bubbles appear in the clear tube and the expelled fluid looks clean and clear, not dark or contaminated.
- Check the master cylinder reservoir frequently — never let it run dry or you will introduce a large air pocket that must be bled out from scratch.
- Move to the next corner and repeat.
One-Person Vacuum Bleeding
A hand-operated vacuum pump (Mityvac is a widely available brand) connects to the bleed screw nipple. Pumping the tool creates suction that draws fluid through the system. The main limitation: vacuum bleeders can pull air past the bleed screw threads even when the screw appears tight, which contaminates the sample with micro-bubbles that look like system air. To compensate, continue drawing fluid until the stream is consistently clear for at least 4–5 ounces past the point where bubbles stopped appearing.
Wrapping the bleed screw threads with a small amount of PTFE tape — without covering the actual fluid port — can reduce false-positive air intrusion from thread gaps and give you a more accurate reading of what is actually in the line.
Pressure Bleeding
A pressure bleeder attaches to the master cylinder reservoir cap and pressurizes the system from the top — typically at 10–15 PSI — pushing fluid through and out each bleed screw in turn. This is the fastest method and is preferred in professional shops because it requires only one technician and produces consistent results. Never exceed 15 PSI when pressure bleeding, as excess pressure can damage reservoir seals and distort rubber brake hoses.
Some professional pressure bleeders incorporate a regulated air intake valve on the pressurizer head that maintains a stable, preset pressure throughout the bleeding procedure. This prevents pressure spikes that could force fluid past the master cylinder piston seals. When evaluating bleeding equipment, look for units that include this regulated air intake valve feature — it is a meaningful quality-of-life and safety difference over basic unregulated models.
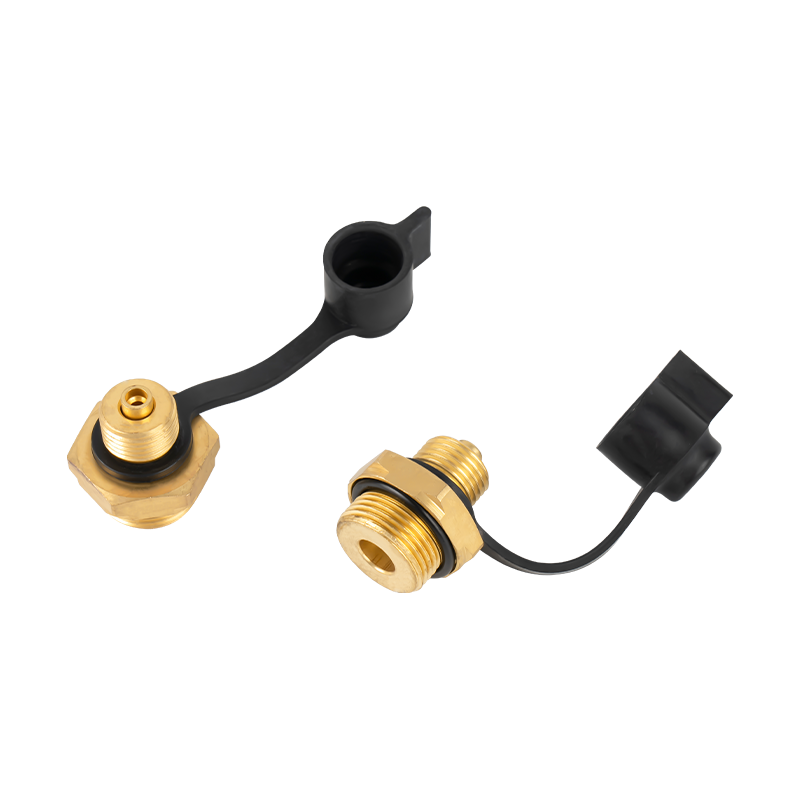
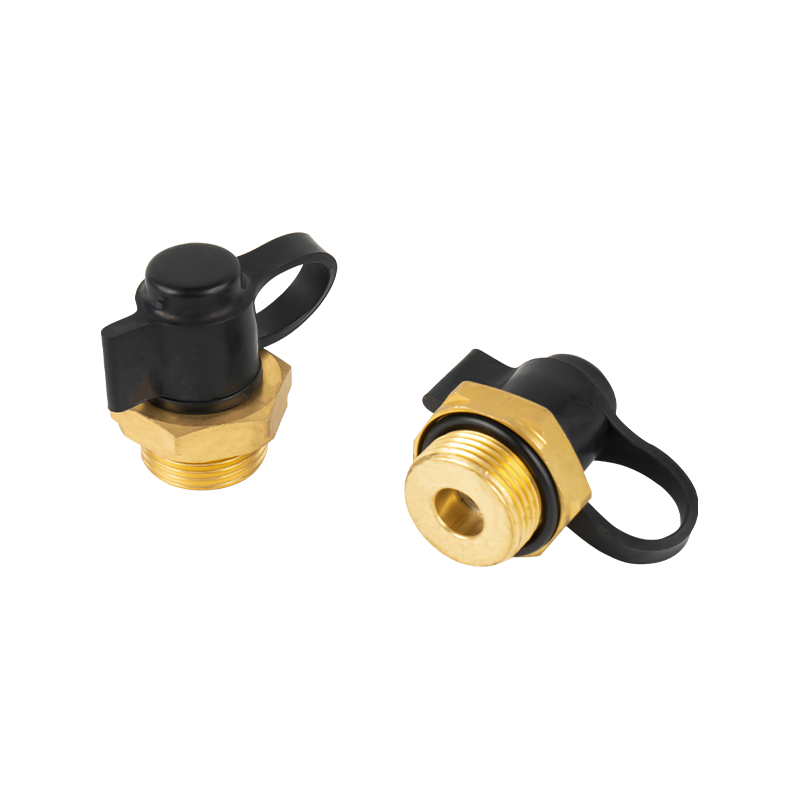
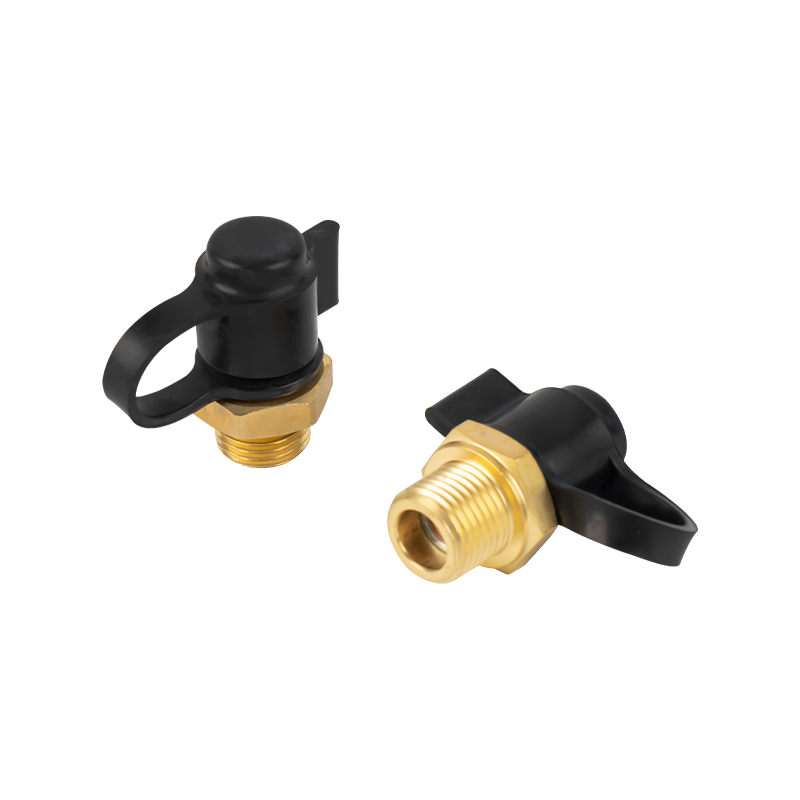
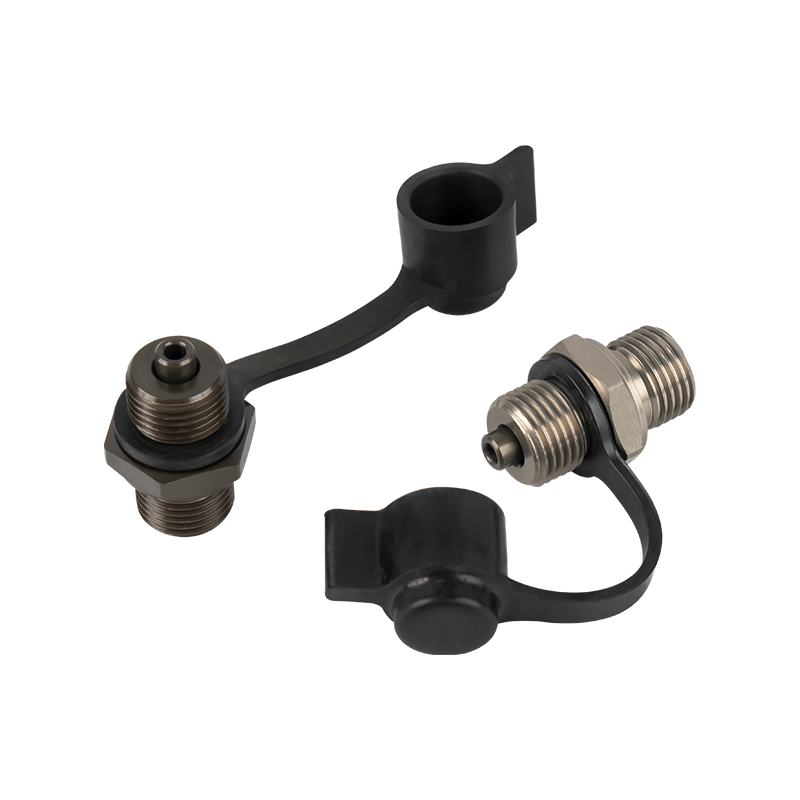
Understanding the Bleed Screw: The System's Air Intake Valve Point
The bleed screw — also called a bleeder valve or bleeder nipple — is a hollow, externally threaded bolt with a tapered seat that seals against the caliper body. When closed, it creates a leak-free seal. When opened, it functions as the primary exit point for fluid and trapped air. Poorly maintained or cross-threaded bleed screws are the number-one mechanical complication in brake bleeding jobs.
Because the bleed screw is the point at which the system interfaces with atmosphere, it behaves like an unintended air intake valve the moment it is opened. Any drop in pedal pressure while the screw is open — whether from your assistant releasing the pedal too soon, or from suction created by a vacuum bleeder — creates a momentary vacuum that draws outside air back into the caliper through the screw threads or the hollow center bore. This is why technique is everything during manual pedal bleeding: the screw must be closed before pressure drops.
Stripped or seized bleed screws are best addressed with a screw extractor kit. In a pinch, a caliper can sometimes be bled by disconnecting the brake hose at the banjo fitting and opening that fitting slightly to allow fluid and air to escape — but this method is messier and slower. Replacement bleed screws are inexpensive (typically $1–$3 each), so replacing them routinely during a fluid change is sound maintenance practice.
| Bleed Screw Issue | Likely Cause | Recommended Fix |
|---|---|---|
| Won't open / seized | Corrosion, lack of prior maintenance | Penetrating oil soak, heat, screw extractor |
| Rounds off under wrench | Wrong tool (open-end wrench used) | Use flare-nut wrench; extract and replace screw |
| Leaks when closed | Damaged taper seat or debris on seat | Clean seat, replace screw, replace caliper if seat is damaged |
| Pulls air during vacuum bleed | Thread gaps acting as unintended air intake valve | Wrap threads lightly with PTFE tape; switch to pedal method |
| Broken off flush in caliper | Over-torque or corrosion fracture | Left-hand drill bit, screw extractor, or caliper replacement |
Choosing the Right Brake Fluid: DOT Ratings Explained
Brake fluid selection has a direct impact on how often you need to bleed and how the system performs under stress. The Department of Transportation (DOT) classification system rates fluids primarily on dry boiling point (fresh fluid) and wet boiling point (fluid that has absorbed 3.7% water by volume). Here is a quick comparison:
| Fluid Type | Dry Boiling Point | Wet Boiling Point | Base Chemistry | Typical Application |
|---|---|---|---|---|
| DOT 3 | 401°F (205°C) | 284°F (140°C) | Glycol ether | Older domestic vehicles |
| DOT 4 | 446°F (230°C) | 311°F (155°C) | Glycol ether + borate ester | Most modern passenger cars |
| DOT 5.1 | 500°F (260°C) | 356°F (180°C) | Glycol ether (high-performance) | Performance and track use |
| DOT 5 | 500°F (260°C) | 356°F (180°C) | Silicone | Military, show vehicles, long-term storage |
DOT 5 silicone fluid does not mix with glycol-based fluids and cannot be used in systems designed for glycol fluid — doing so causes the rubber seals and hoses to swell, crack, and fail. DOT 5 also compresses very slightly more than glycol fluid under extreme pressure, which can produce a subtly softer pedal feel at the limit — another reason it is not recommended for high-performance street or track use despite its high boiling point.
For track or spirited driving, DOT 5.1 or a purpose-built racing fluid (such as Castrol React SRF or Motul RBF 660) is worthwhile. These fluids still absorb moisture over time, so bleed intervals should be shortened to once per track season rather than once every two years.
Gravity Bleeding: The Slowest Method That Requires Zero Tools
Gravity bleeding requires nothing more than an open bleed screw and patience. The process relies on the weight of the fluid column in the reservoir and lines to push fluid — and any entrained air — slowly downward and out through each open bleed screw. It takes 15–30 minutes per corner, but it works without pumping or vacuum tools, and it is gentle enough to avoid disturbing trapped pockets of air that aggressive pedal pumping might re-distribute.
The practical limitation: gravity bleeding cannot displace stubborn air pockets that are trapped in high points of the brake line routing, and it does absolutely nothing for air trapped inside an ABS modulator. It is best used as a finishing step after pedal or pressure bleeding, or for minor maintenance top-ups on systems that are otherwise in good condition.
To gravity bleed: fill the master cylinder, open each bleed screw one quarter turn, attach a tube to each nipple leading into a collection bottle, and wait. Check the reservoir every few minutes and top up as needed. Close each screw when the fluid runs consistently clear with no bubbles. The order — farthest to nearest from the master cylinder — still applies.
Special Situations: When Bleeding Gets More Complicated
Replacing Brake Calipers
A new or rebuilt caliper comes dry — there is no fluid inside it at all. Before installation, many technicians pre-fill the caliper by connecting a brake hose adapter and slowly forcing fluid in through the inlet port while holding the caliper with the bleed screw at the top and the inlet port at the bottom. This purges the majority of air before the caliper is ever bolted to the vehicle and dramatically reduces the number of pedal strokes needed to complete bleeding after installation. Skipping this pre-fill step is the main reason people report that a pedal stays soft even after extensive bleeding following caliper replacement.
Rear Calipers with Integral Parking Brakes
Rear calipers that incorporate the parking brake mechanism use a screw-type piston rather than a simple push piston. These pistons must be wound clockwise (using a cube or spline drive tool) rather than simply pressed in when replacing rear brake pads. The bleeding procedure is otherwise identical, but the additional mechanism means there are more internal passages where air can hide. Some vehicles with electronic parking brakes require the parking brake actuator to be retracted electronically via a scan tool before the caliper pistons can be reset — check the service information for your specific vehicle.
Replacing the Master Cylinder
When the master cylinder is replaced, the entire hydraulic circuit — including the master cylinder itself — must be bled. On the bench, a new master cylinder should be bench-bled before installation to fill the bore and primary and secondary pistons with fluid and eliminate the large air volume that would otherwise need to be pushed through the entire system from the reservoir. Most replacement master cylinders include a bench-bleeding kit. Not bench-bleeding a master cylinder before installation adds 30 minutes to a job that should take 10, and risks introducing so much air that multiple full bleeding passes are needed.
ABS Systems and Bleeding with a Scan Tool
As noted earlier, many modern vehicles require ABS modulator bleeding in addition to conventional corner bleeding. The scan tool initiates a series of solenoid cycling sequences inside the modulator that mechanically open and close passages, allowing trapped air pockets to move toward the bleed screws where they can be expelled. This procedure differs by manufacturer — some require it only after modulator replacement, others call for it any time a line is opened or a significant air introduction event occurs. On vehicles like late-model General Motors trucks and many European cars, skipping scan-tool bleeding after brake line work is a reliable path to a permanently spongy pedal.
Air Intake Valves in Hydraulic Systems and Their Parallel to Brake Bleeding
In broader hydraulic engineering, air intake valves are purpose-built components that manage the controlled admission or exclusion of air within pressurized fluid systems. Understanding how air intake valves function in other hydraulic applications sheds useful light on why brake bleeding protocol works the way it does.
In water supply pipelines and industrial hydraulic circuits, air intake valves (also called air release valves or combination air valves) serve a dual function: they expel trapped air when a system is being pressurized, and they admit air when pressure drops below atmospheric, preventing destructive vacuum conditions or water hammer. This is precisely the dynamic at work in a brake caliper when a bleed screw is opened: the caliper becomes momentarily connected to atmosphere, and pressure differential — whether from pedal pumping, vacuum, or gravity — drives fluid and air out through that opening.
Some aftermarket brake bleed kits incorporate a one-way check valve in the collection hose that mirrors the function of an industrial air intake valve — it allows fluid and air to flow out of the caliper freely but physically prevents backflow of expelled fluid (or atmospheric air) back into the system if pedal pressure drops unexpectedly. These kits make one-person bleeding significantly more reliable and are widely sold at automotive parts retailers for $20–$40.
The broader takeaway: whether in a city water main, a factory hydraulic press, or a disc brake caliper, trapped air and hydraulic performance are fundamentally incompatible. Air intake valves — whether sophisticated mechanical regulators in industrial systems or simple bleed screws in automotive applications — are the engineering solution for managing the air-fluid interface in any pressurized hydraulic circuit.
How to Know When the Bleeding Job Is Complete
There are three objective tests that together confirm a successful brake bleed:
- Pedal feel: The pedal should be firm and high — ideally engaging within the top third of pedal travel. A pedal that builds pressure gradually as you push or requires multiple pumps to firm up indicates remaining air in the system.
- No bubbles at the bleed screw: The last fluid expelled at each corner should show zero air bubbles and be clear or light amber in color, not cloudy or dark brown.
- Static pressure hold test: With the vehicle on the ground, apply steady moderate pressure to the brake pedal and hold for 30 seconds. The pedal should not slowly sink toward the floor. Gradual sinking indicates either a seal leak in the master cylinder or continued air compression — both require diagnosis and correction.
Before driving, always perform a low-speed test stop in a safe area. Apply the brakes at about 10 mph and verify the vehicle stops promptly and straight. Any pull to one side suggests uneven brake pressure and warrants re-inspection of the caliper or wheel cylinder on the pulling side.
Top off the master cylinder reservoir to the MAX line after bleeding is confirmed complete, and make sure the reservoir cap is fully seated and its vent is clear. A blocked reservoir vent creates a vacuum in the reservoir as fluid is consumed during normal braking, which can eventually cause erratic pedal behavior — another instance where an unintended air intake valve effect can cause system problems.
How Often Should You Bleed Your Brakes
For regular road use, a full brake fluid flush every two years is a reasonable baseline regardless of mileage. The hygroscopic (moisture-absorbing) nature of glycol-based brake fluid means the wet boiling point will degrade over time even in a perfectly sealed system. Two years aligns with manufacturer recommendations for most passenger vehicles.
Trigger conditions that warrant bleeding outside the routine schedule include:
- Any time a brake line, hose, caliper, master cylinder, or wheel cylinder is opened or replaced
- When the brake fluid in the reservoir appears dark brown or cloudy
- After brake fade event (overheated fluid during hard use on a track or mountain descent)
- When the brake pedal feels soft, spongy, or requires multiple pumps to achieve full pressure
- After a vehicle has sat unused for more than 12 months
- Before any track day or autocross event, even if the road-use fluid change schedule hasn't elapsed
For motorcycles, the hydraulic principles are identical but the circuits are shorter and the calipers are often easier to access. Front brakes on most motorcycles are a single-line circuit from handlebar master cylinder to front caliper(s); rear brakes run from a foot-pedal master cylinder to the rear caliper. The same bleed sequence logic applies — farthest from the master cylinder first — though on simpler single-caliper setups there is only one bleed point per circuit.
Common Mistakes That Lead to a Failed Brake Bleed
Even experienced mechanics make preventable errors during brake bleeding. The following mistakes account for the majority of jobs that end with a still-spongy pedal:
- Letting the reservoir run dry: This introduces a large air pocket at the very top of the hydraulic circuit and forces the entire system to be re-bled from scratch. Check the reservoir after every corner.
- Releasing the pedal with the bleed screw open: The returning piston in the master cylinder creates suction that pulls air back in through the open screw, which is acting as an unrestricted air intake valve. Always close the screw before releasing pedal pressure.
- Bleeding in the wrong order: Starting with the nearest caliper instead of the farthest redistributes air rather than purging it.
- Not bench-bleeding a replacement master cylinder: This leads to a massive air introduction at the beginning of the circuit that takes many pedal strokes to clear.
- Skipping ABS modulator bleeding: On vehicles that require scan-tool activation for modulator bleed, conventional corner bleeding cannot purge air from inside the modulator body.
- Using the wrong fluid: Adding DOT 5 silicone fluid to a glycol-based system damages seals and requires a complete system flush to correct.
- Contaminating fluid with water: Even a small amount of water introduced from a damp container or unclean funnel can lower the fluid's boiling point noticeably.
Attention to these details separates a clean, successful bleed from one that leaves the pedal feeling uncertain and requires the job to be done again.


