 English
 русский
 中文简体
中文简体How to Flare Brake Pipes: A Complete Step-by-Step Guide
2026-05-04
Content
- 1 What You Need to Know Before You Start
- 2 The Three Types of Brake Pipe Flares You'll Encounter
- 3 Choosing the Right Pipe Material
- 4 Tools Required to Flare Brake Pipes Properly
- 5 Step-by-Step: How to Make a Double Flare on Brake Pipe
- 6 Step-by-Step: How to Make a Bubble Flare on Brake Pipe
- 7 How Flare Quality Affects Automotive Brake Valves and Downstream Components
- 8 Common Flaring Mistakes and How to Avoid Them
- 9 Installing the Flared Brake Line: Torque, Routing, and Bleeding
- 10 When to Replace Brake Lines and What to Look For
- 11 Practice Runs: Why You Should Always Test on Scrap Pipe First
What You Need to Know Before You Start
Flaring brake pipes is one of those jobs where doing it wrong can cost someone their life. A poorly formed flare on a brake line will leak, fail under pressure, or collapse entirely when you least expect it. So before picking up any tool, understand what you're getting into: brake hydraulic systems operate at pressures between 1,000 and 2,000 psi under normal braking, and far higher during panic stops. Any flare that isn't seated correctly, formed to the right angle, or matched to the correct fitting standard will be a liability from the moment the pedal is pressed.
The good news is that flaring brake pipes is a learnable skill. With the right flaring tool, the correct pipe material, and a methodical approach, you can produce brake line flares that match OEM quality. Most professional mechanics who do this regularly will tell you that the first few attempts on scrap pipe are always worth it — the learning curve is short, but the margin for error in actual use is essentially zero.
It's also important to understand how the flared end interacts with automotive brake valves, distribution blocks, and fittings downstream. A flare that doesn't form the proper seat angle will not seal correctly against the cone seat inside those components, no matter how tightly you torque the fitting. This is why matching the flare type to the system standard matters as much as the technique itself.
The Three Types of Brake Pipe Flares You'll Encounter
Not all flares are the same, and using the wrong type on a given vehicle is a common source of failure. Here's a breakdown of what each type looks like and where it's used:
Single Flare
A single flare is a simple outward cone formed at the end of the pipe. Single flares are not acceptable for brake lines in most passenger vehicles because the single wall of tubing can crack under vibration and pressure cycling. You'll see single flares used on fuel lines and low-pressure hydraulic systems, but they should never be used on brake circuits. Many DIYers make this mistake when using a generic flaring kit that produces single flares by default.
Double Flare (SAE 45-Degree)
The double flare is the most common standard used in North American vehicles and is specified by SAE J1290. The pipe end is folded back on itself at 45 degrees, creating a double-wall mushroom shape that's far more resistant to cracking and blowout. Most American-made vehicles from the 1970s onward use the SAE 45-degree double flare. The double wall means the fitting has twice the material to compress against the seat, giving it excellent sealing and fatigue resistance. This type is compatible with most standard automotive brake valves and fittings sold in North America.
Bubble Flare (ISO/DIN Metric)
The bubble flare, also called an ISO or DIN flare, is a rounded, dome-shaped end used almost universally on European and Asian vehicles. Volkswagen, BMW, Mercedes, Toyota, and Honda vehicles typically require bubble flares. The shape seats against a matching convex receiver inside the fitting rather than a cone. Bubble flares require a specific adapter in your flaring kit — a standard double flare kit will not produce the correct geometry. Attempting to use a double flare fitting on a bubble flare port (or vice versa) creates a partial seal that will weep fluid almost immediately.
| Flare Type | Angle | Wall Thickness | Common Application | Suitable for Brakes? |
|---|---|---|---|---|
| Single Flare | 45° | Single wall | Fuel lines, low-pressure hydraulics | No |
| Double Flare | 45° | Double wall | North American vehicles | Yes |
| Bubble Flare | Rounded dome | Single wall dome | European and Asian vehicles | Yes (correct fittings required) |
Choosing the Right Pipe Material
The tubing material you choose will determine how easy the flaring process is, how long the lines last, and whether the job meets safety standards. There are three realistic options for brake pipe replacement:
Copper-Nickel Alloy (Cunifer)
Cunifer is widely considered the best choice for DIY brake line replacement. It contains roughly 90% copper and 10% nickel, which gives it excellent corrosion resistance, workability, and fatigue life. It bends without cracking, flares cleanly with minimal effort, and doesn't require annealing before use. In the UK and much of Europe, Cunifer is the default recommendation for brake pipe repair. It meets or exceeds the specifications of most OEM steel lines when used in the correct wall thickness — typically 4.75mm (3/16 inch) outer diameter for standard passenger cars.
Steel (OEM Standard)
Original equipment brake lines are almost always steel — either plain or coated. Plain steel is the least expensive option and matches OEM appearance, but it corrodes faster than Cunifer and requires more effort to flare correctly. Steel brake pipe must be double-flared without annealing, as heat changes the temper and weakens the pipe wall. Coated steel (zinc-coated or epoxy-coated variants) offers better corrosion resistance and is a reasonable alternative to Cunifer if the coating isn't damaged during bending and cutting.
Stainless Steel
Stainless steel brake lines are extremely corrosion resistant and used in motorsport applications, but they are significantly harder to flare. They work-harden quickly during bending and flaring, which can cause cracking if you push the material too fast. Unless you have a high-quality hydraulic or bench-mount flaring tool, stainless steel brake tubing is better left to shops with the proper equipment.
Tools Required to Flare Brake Pipes Properly
Using the wrong tools is one of the most reliable ways to produce a bad flare. Here's what you actually need:
- Flaring tool kit — a quality double flare kit with the correct adapters for your vehicle's flare type. Budget kits from discount tool stores often have loose tolerances that produce misshapen flares. Brands like Mastercool, Ridgid, and Imperial Eastman produce reliable kits used by professional shops.
- Pipe cutter — a dedicated tubing cutter sized for 3/16-inch or 1/4-inch brake line. Never use a hacksaw; it leaves burrs and an uneven cut face that ruins the flare before it's even started.
- Deburring tool — to clean the inside edge of the pipe after cutting. A slight internal burr left in place will fold inward during flaring and create a stress riser.
- Pipe bending spring or tube bender — necessary for routing the new line. Hand-bending without a bender kinks the pipe, which reduces internal diameter and creates fatigue points.
- Brake fitting nuts (inverted flare nuts) — must be slid onto the pipe before flaring. Forgetting this step is an extremely common and time-wasting mistake.
- Thread sealant or brake-compatible lubricant — for the fitting threads. Do not use Teflon tape on brake fittings; fragments can contaminate the system.
- Torque wrench or line wrench set — flare fitting torque specs range from 10 to 18 ft-lbs depending on line diameter. Over-tightening crushes the flare; under-tightening leaves it loose.
If you're working on multiple lines or anticipate doing this regularly, a hydraulic bench-mount flaring tool produces far more consistent results than a hand-lever kit. Tools like the Mastercool 71475 or the OTC 4503 are used by independent shops and produce repeatable flares across all pipe materials.
Step-by-Step: How to Make a Double Flare on Brake Pipe
This is the process for producing an SAE 45-degree double flare, which is the most common type required on North American vehicles. Follow each step without skipping — the sequence matters.
- Cut the pipe squarely. Position the tubing cutter perpendicular to the pipe and tighten the cutting wheel until it just contacts the surface. Rotate the cutter around the pipe, tightening by a quarter turn every two or three rotations. Rushing this step and tightening too fast crushes the pipe wall. The cut face should be perfectly flat when finished.
- Deburr inside and outside the pipe end. Use the deburring blade on your tubing cutter or a dedicated deburring tool to clean the inner edge. The outer edge can be lightly dressed with a file. Remove all metal shavings by tapping the pipe end downward.
- Slide the fitting nut onto the pipe now. Thread it on with the open end facing the pipe end (the end you'll flare). If you forget this step, you'll need to cut off the completed flare and start over.
- Clamp the pipe into the flaring bar. The pipe should protrude above the bar by a specific amount — this distance determines how much material is available to form the double flare. Most flaring kits include a gauge or step on the adapter that sets this protrusion automatically. For 3/16-inch pipe, the protrusion is typically around 4–5mm. Clamp the bar firmly; a loose clamp lets the pipe spin or shift during forming.
- Install the first-stage adapter (the flare adapter or bullet). This stepped adapter sits in the pipe end and, when pressed down by the yoke screw, folds the pipe end inward and outward simultaneously to create the first stage of the double flare — a mushroom shape. Tighten the yoke screw until the adapter is fully seated and you feel firm resistance. Do not force it past this point.
- Remove the adapter and inspect the first stage. The pipe end should now look like a shallow, even mushroom — the walls folded outward and inward uniformly. Any cracking, tearing, or uneven folding at this stage means the pipe is too hard (try a different material), the cut face wasn't square, or the protrusion was incorrect.
- Press the second stage with the cone. Without moving the pipe from the clamp, install the 45-degree cone into the yoke and tighten it against the partially formed flare. This presses the mushroom flat, folding it back against the pipe wall and forming the final double-wall cone shape. Again, tighten until firm resistance — not beyond it.
- Inspect the completed flare. The finished double flare should have a smooth, even cone with no cracks, no eccentric shape, and no thinning at the lip. The inner diameter of the cone should be round and consistent, and both walls of material should be fully fused together with no gap between them.
Step-by-Step: How to Make a Bubble Flare on Brake Pipe
The bubble flare process is slightly simpler mechanically but requires the correct adapter. Most quality flaring kits sold in Europe and many available in North America include a bubble flare adapter as standard.
- Cut and deburr the pipe using the same method described above. Clean cuts are equally critical for bubble flares.
- Slide on the metric fitting nut before clamping. Metric brake fittings for bubble flare systems use different thread pitches than SAE fittings — confirm you have the correct nut for your application.
- Clamp the pipe with zero protrusion. Unlike the double flare, the bubble flare is formed with the pipe end flush with the top of the clamp bar. Some bubble flare adapters include a depth stop that sets this automatically.
- Install the bubble flare adapter in the yoke and tighten it down onto the pipe end. The rounded tip of the adapter pushes into the pipe end and forms it outward into the dome shape in a single step. Tighten until fully seated.
- Inspect the flare. The finished bubble flare should be a smooth, even dome with no cracks or flat spots. The dome should be centered on the pipe axis. If it's off-center, the pipe moved in the clamp during forming — re-clamp and try again on a fresh piece of tubing.
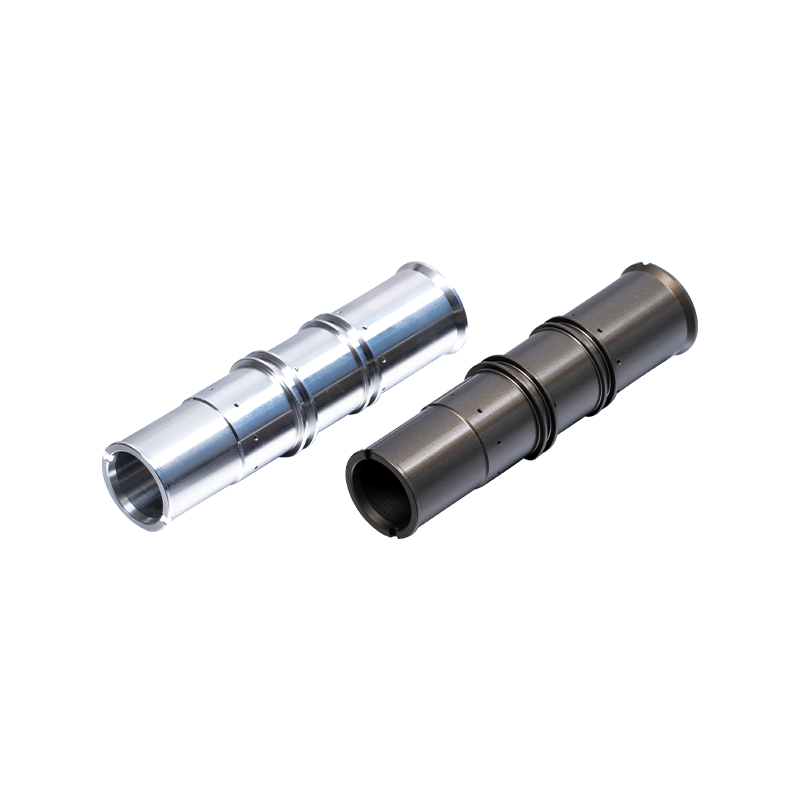
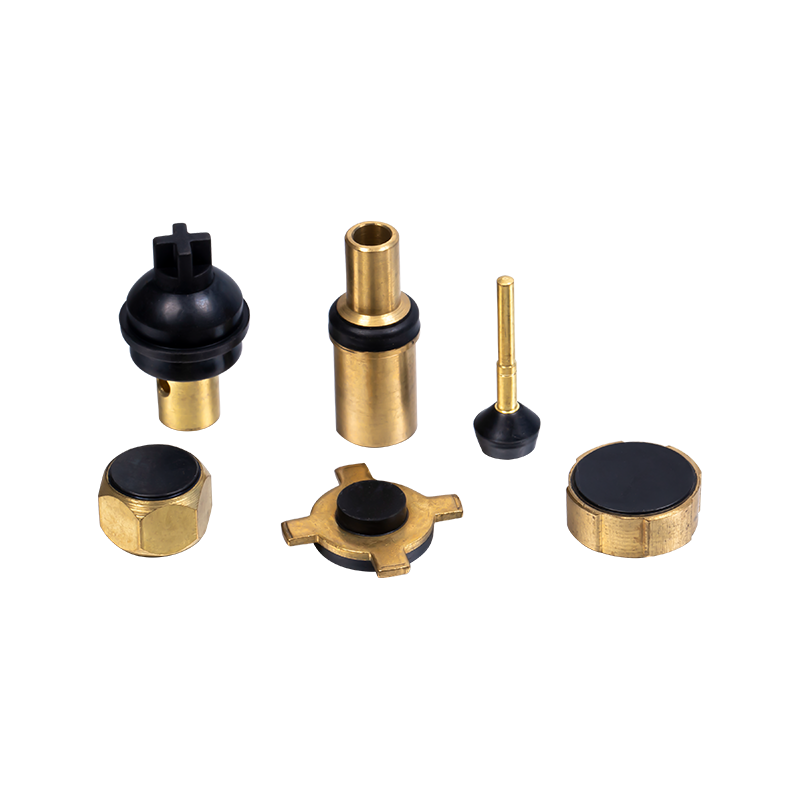
How Flare Quality Affects Automotive Brake Valves and Downstream Components
The flared end of a brake pipe doesn't just need to be leak-free at the fitting — it needs to seal correctly against whatever it connects to, which in most vehicles includes a range of precision-machined components. Automotive brake valves such as proportioning valves, ABS modulator ports, residual pressure valves, and combination valves all have machined cone seats that rely on the flare geometry to seal without gaskets or o-rings. The brake hydraulic system uses metal-to-metal sealing exclusively at flared connections, which is why surface finish and cone angle accuracy are not negotiable.
A flare that's even slightly oval, cracked, or formed at the wrong angle will allow fluid to seep past the seat under pressure. In service, this shows up as a soft pedal, a slowly sinking pedal under steady pressure, or visible fluid at the fitting. Because automotive brake valves operate at high pressures and often cycle thousands of times over their service life, a marginal seal that holds initially may fail completely after a few weeks of use when thermal expansion and pressure cycling loosen the contact.
This is particularly relevant when replacing lines that connect to ABS modulator blocks, which contain multiple solenoid valves and pressure regulators. The ports on ABS units are often made from aluminum alloy, and over-torquing a fitting to compensate for a poor flare will strip or crack the port threads, turning a straightforward brake line replacement into a modulator replacement job.
Similarly, metering valves and combination valves that regulate front-to-rear brake bias have very small port openings. Any metal fragment from a poorly deburred pipe or a cracked flare that enters the hydraulic circuit can lodge in these valves and cause inconsistent brake bias, pedal feel variations, or complete valve failure. The cost of a contaminated ABS module or combination valve far exceeds the cost of taking an extra 30 minutes to produce a clean flare.
Common Flaring Mistakes and How to Avoid Them
Forgetting to Slide the Nut on Before Flaring
This is by far the most common mistake made by people learning to flare brake pipes. The flared end is larger in diameter than the tube itself, so the fitting nut cannot be threaded on after the flare is formed. The only fix is to cut the flare off and start again. Make it a habit to always check for the nut before clamping the pipe in the flaring bar — every single time.
Incorrect Pipe Protrusion
Too much pipe protruding from the clamp bar produces an oversized, floppy flare with thin walls. Too little leaves insufficient material to fold properly, resulting in a thin single-wall flare rather than a proper double flare. Use the gauge or step provided with the kit every time, and verify the protrusion visually before clamping down.
Using the Wrong Flare Type for the Vehicle
A double flare on a bubble flare port, or a bubble flare on a 45-degree SAE seat, will not seal. Always check the vehicle's service manual or cross-reference the original fitting type before starting the job. European vehicles manufactured after approximately 1980 nearly universally use bubble flares with metric M10x1.0 or M12x1.0 fittings. North American vehicles use SAE 45-degree double flares with 3/16-inch or 1/4-inch inverted flare fittings.
Skipping the Deburring Step
A burr on the inside edge of the pipe will fold inward when the first stage adapter presses into the pipe, creating a stress concentration point that can crack under pressure cycling. It takes 20 seconds to deburr. Do it every time.
Over-tightening the Yoke Screw
Applying too much force after the adapter is fully seated doesn't improve the flare — it thins the material and can crack it. Stop turning when you feel firm, solid resistance. On most hand-lever kits, this is obvious because the lever feels notably harder to turn. On screw-type kits, tighten until the screw won't advance without significant effort, then stop.
Using Brake Pipe That's Too Hard
Steel brake pipe that has been work-hardened by bending before flaring will crack during the first stage forming step. Always flare the ends before bending the pipe to its final shape. If you need to make a bend close to the flare end, keep a minimum of 25–30mm of straight pipe between the last bend and the start of the flare.
Installing the Flared Brake Line: Torque, Routing, and Bleeding
Torquing the Fittings Correctly
Brake line fittings are torqued by feel as much as by specification because the correct torque varies with fitting material, thread condition, and lubrication. General guidelines for steel fittings are as follows:
- 3/16-inch lines (most passenger car circuits): 10–12 ft-lbs
- 1/4-inch lines (larger vehicles and rear circuits): 12–15 ft-lbs
- Metric M10 fittings: 10–14 Nm
- Metric M12 fittings: 14–18 Nm
Always use a line wrench (flare nut wrench) rather than an open-end spanner. Open-end spanners contact only two faces of the hex fitting and will round off the corners, particularly on corroded fittings. A line wrench grips five of the six faces and is far less likely to slip.
Routing the New Line
Route the new brake line following the original path as closely as possible. Brake lines are routed away from heat sources, moving suspension components, and sharp edges. Use all original clips and retainers — a brake line that vibrates freely will fatigue and crack at the flare over time. Where the line transitions from the body to the axle or a moving component, there must be a flexible hose section. Never use rigid brake pipe to bridge a suspension or steering joint.
Bleeding the System After Installation
After connecting the new line, the system must be bled to remove all air. Air compresses; brake fluid does not. Even a small air bubble in the system will produce a spongy pedal under hard braking. Bleed the system starting at the caliper or wheel cylinder furthest from the master cylinder and work toward the nearest. Use fresh, uncontaminated brake fluid — DOT 3, DOT 4, or DOT 5.1 as specified for the vehicle. Never reuse old fluid bled from the system.
After bleeding, pump the pedal several times with the vehicle stationary, then check every fitting for weeping fluid. Apply firm, sustained pedal pressure for 30 seconds — if the pedal sinks slowly, there is still a leak somewhere in the circuit. Check each flared connection first before looking elsewhere in the system.
When to Replace Brake Lines and What to Look For
Knowing when a brake line actually needs replacement is as important as knowing how to replace it. Surface rust on steel lines is normal and not by itself a reason to replace them. The concern is pitting, which indicates rust has eaten into the pipe wall. To check, wipe a section clean with a rag and run your thumbnail across it — if it catches in visible pits or the pipe wall feels uneven, that section needs replacing.
Pay particular attention to areas where brake lines pass through body clips or over subframe sections, as these locations trap moisture and corrode faster than exposed sections. The area immediately behind the rear axle on trucks and SUVs is notorious for this. Also inspect where the hard line transitions to the flexible hose — the fitting and the last 50mm of hard pipe near that junction corrode from trapped moisture under the fitting nut.
If you're replacing a corroded line, consider replacing the entire run rather than splicing in a section. Spliced lines using compression fittings are illegal in most jurisdictions for brake circuit use, and even flared couplers introduce additional potential failure points. A full-length replacement done correctly is always the better answer.
Practice Runs: Why You Should Always Test on Scrap Pipe First
No matter how clearly written the instructions, flaring brake pipes is a physical skill that requires muscle memory and judgment. The amount of force required to seat the adapter, the feel of a properly tightened yoke screw, and the visual difference between a good flare and a marginal one — these things are learned through repetition, not reading.
Buy 300–500mm of extra tubing in the same material and diameter as your brake line and make at least four or five practice flares before touching the actual repair. Cut each practice flare in half with the tubing cutter and inspect the cross-section — you should see two distinct layers of material with no gap between them. If the layers separate or there's a visible void, adjust your technique before moving to the real line.
This small investment of time and a few dollars worth of tubing is the single most reliable way to ensure the finished job is safe. Experienced mechanics who flare brake lines daily still make practice cuts when switching to a new material or a different diameter, because the process is sensitive enough that small changes in pipe hardness or wall thickness affect the result.


